Saturday, 22 September 2012

Mulberry Jam Recipe #1: Basic

Ingredients:
1kg Mulberries
1 kg gelling sugar/setting sugar (if ratio is 1:1)
1 Lime (Juice of it)
10g Butter
Sterilized and washed glasses (~3 x 500ml)

Directions

1) Weigh and De-Stalk Mulberries
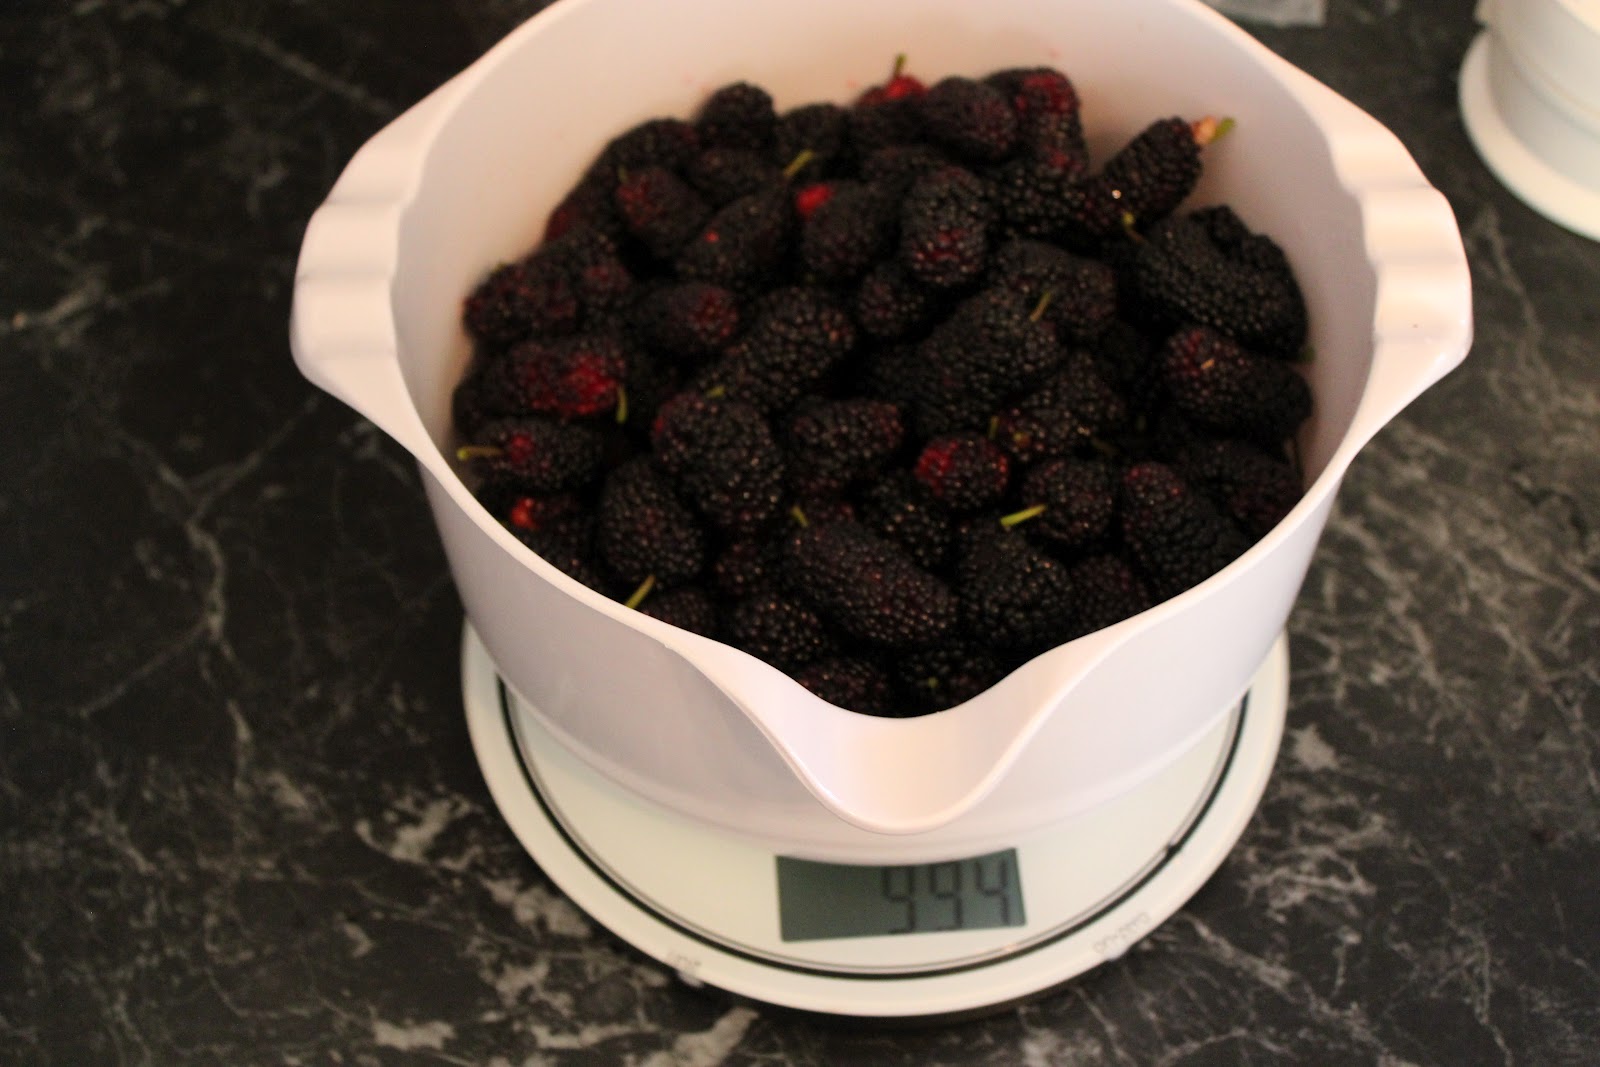
2) Prepare Lime and Jam setting Sugar.


3) Put Mulberries in 6l pot and crush them with a potato masher.


4) Add Sugar and Lime juice.


5) Heat on low flame (no boiling) until all the sugar has dissolved.


6) Add Butter.


7) Bring to hard boil, boil until a drop of jam does not move when put on a cold plate. Skim off the foam if it builds, stir occasionally.


Fill into washed and sterilized jars (don't forget to preheat them carefully or they might break due to the sudden impact of heat!): Et voilá! We needed 3 500ml glasses for the amount of jam we made.


2nd Time - What can be done better?

A) Heat up the berries without the sugars, wait until they are cooked and start to fall apart, Only then crush them with a potato masher.

B) At that point you have the options of either making jam or jelly. If you want to make mulberry jam, just continue with C, if you want to make jelly press the fruit through a thin sieve or a cheese cloth and only continue with the pure juice. If you just have the fruit juice, probably 800g to 1000 ml will suffice. (I personally quite liked the jelly consistency that came out when I tried, Rob prefers the Jam :))

C) Instead of adding all the sugar instantansously, add it 1-2 spoons at a time and wait until it dissolved. All on low flame, it should neither be simmering nor boiling!

D) After that continue as described, bringing it to a rolling boil for at least for minute. To test though, put the plate in the fridge for a minute and then see, whether the jam/jelly remains runny still or sets. 

E) Instead of Lime Juice, also some of the peel can be added, if you have organic limes at hand. Be careful, that you don't add too much Lime! (We have two glasses of rather limey jam)

F) If you don't have jam setting sugar, it is possible to replace it with small cut pieces of peel of apples that are as unripe as possible, plus lime peel, since both contain pectin that serves as a setting agent. You have to experiment to find out the right amount. Just use normal sugar if you want to try this way.

G) I haven't done this, but my feeling tells me, this could go rather well with elderberry juice added.... too bad we haven't got a bush around here...yet :)

A Heap of Mulberries

The first spring-bulb has shown its flowerhead - and a beautiful one it is:


We have trimmed our chamomile and are waiting for new bush to grow now:


Even after 3kg of harvested Mulberries, it doesn't stop producing fruit. We're preparing to make *a lot* of jam:


On the cat news, we have made a little toy for them, which makes it harder for them to reach the so much loved dry food and slows them down eating it. Here is the table after we had finished building the fiddle board.


We also planted some catnip and catgrass for them, to have a nice munch on vitamins once in a while (yes our cats are spoiled ;)):


Here is the finished fiddleboard:


And here are the cats examining there new toy:


Banjo, the greedy one, went right into it, while Max preferred to watch from the outside:


And doing catrobatics. He's a talented little guy, I tell you!


Saturday, 15 September 2012

Spring has Sprung

After a few silent months of growing, with the transition from winter to spring all our crops grow and flourish and we have started to prepare the spring plantings.

Our gigantic neighbour's tree (which in fact was just done *loosing* all its leaves) has now started growing them back:


We have just finished the last harvest of snow peas, kohlrabis, broccoli (just before it went to seed) and celery and today we harvested some Broad Beans, which will go into a delicious Broad-Bean-Lemon-Risotto, with even more delicious sweet fresh Lemons from our neighbours garden (finally! non-bitter lemons, I prefer them sweet-sour and always wonder what the commercial farmers do to them to make them so ridiculously bitter...). Here are our gigantic broad beans:


Also, our Mulberry tree is getting heavier by the day. A few berries are already black and ripe, but most of them are still red:


Arugula, Rainbow Chard and Spinach are ready to be harvested once more (we get a good meal out of each of them about every 1-2 weeks):


While other things are just starting to grow:

Peas

Tigerella Tomatos


Red Iceberg Lettuce


Carrots


A Raspberry Bush


A Russian Black Tomato


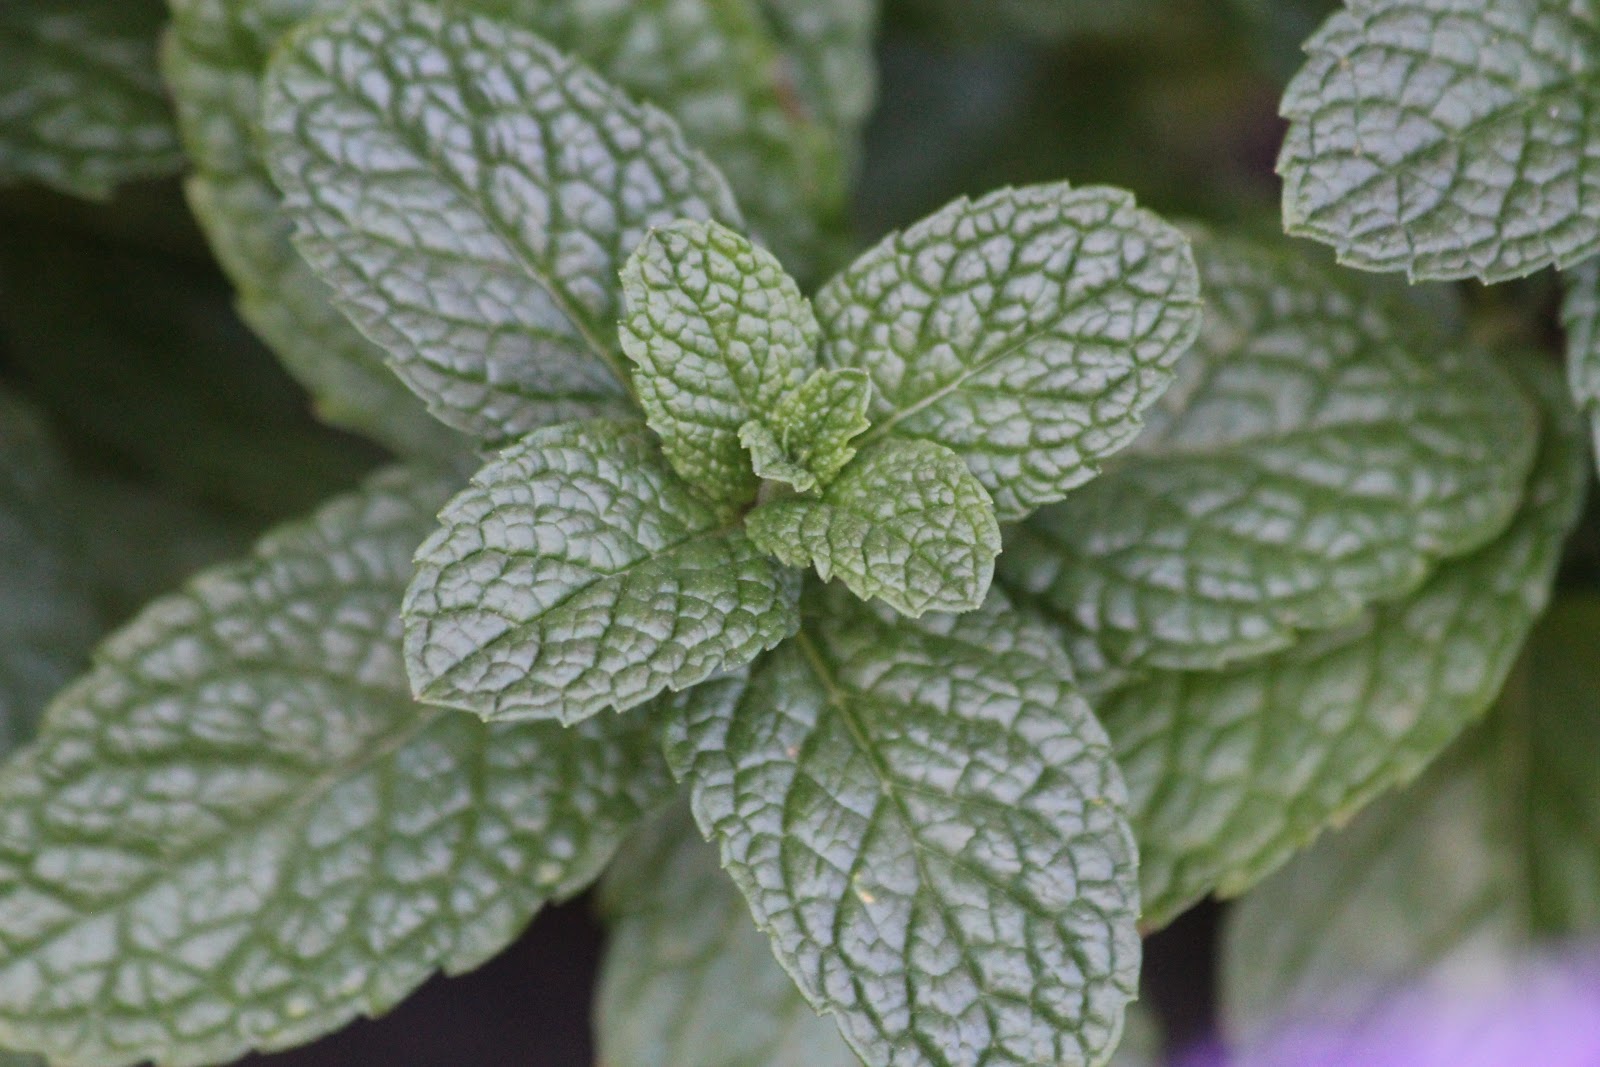
And the peppermint in our herbsnail :)


Last but not least our days are filled with joy thanks to our two little kittens:


Thursday, 30 August 2012

Rainbow Times

Coloful times in our garden:


Radishes in all colours and shapes!


Rainbow Chard - Delicious!


And a rainbow over our backyard :)


&Spring has sprung early so there will be an update on our propagation soon.™(Just saying: Tomatos galore!)

Wednesday, 11 July 2012

2 Weeks on

Two weeks of business and rain and I've hardly been in the garden but things seem to be doing ok. I need to spend some real time out there this weekend - I just can't seem to get the time during the week.
 Here's the lettuce - quite a big bigger in 2 weeks:)
 Same deal for all the chard. The big one just never gives up!
 Here's some peas starting to flesh out in the pod.
 And here's the broadbeans going mad. I have to do something to help prop them up this weekend.
 Kholrabi's have basically doubled in size...
 And the cauliflowers are growing leaves like mad - hopefully a head will start to form soon.
 Here's a nice row of celery..
 And the brussel sprouts getting rather leafy.
And finally the cabbages:) Check out those nice heads starting to form^^

Friday, 29 June 2012

A few more hrs:)

Well, today was an office day unfortunately but to keep myself sane I took regular (albeit short) breaks in the garden. Yesterday was herb snail and front bed - so today I moved onto the other beds.
 Weeding alone took about 2 hrs - here's the start of the 2nd bed.
 And here's the other end finally weeded out.
 In this 2nd bed are some very yummy things. Here's some more kholrabi:)
 Up the far end are 4 marjoram plants. I planted 5 but one seems to have disappeared. These will probably transplant into one of the two herb areas once they are bigger. This has to be one of the greatest herbs on the planet.
 Here's a shot looking down the line of celery. They are really growing now:)
 Here's the start of the cauliflowers. They are all growing at different rates which is perfect. No idea what we would do if they all came at once. Probably get really sick of cauliflower!
 And here's looking down the bed - cauli's of the left, broccoli in the middle & celery on the right.
 So...moving onto the next bed. Here it is weeded out. There's plenty of space here to plant more things, I think I'll throw in some more radishes  down the front (I just love those guys) and then think about what might go in the space up the back.
 Here's the current crop of radishes all growing nicely. They have been in the ground only 2 weeks. Now that I've cleared out all the fallen leaves they might get a bit more sun and shoot up.
 Here's 3 more kholrabi - I seem to have dotted this all over:)
 The next crop of spring onions coming along. I took the last of the old crop today.
 Here's those lettuces looking rather green and luscious.
 And a better shot of the mutant cavalo nero. This is what happens if you just take enough for a meal now and then. The plant just keeps growing and giving. I've had 8 great meals out of this one plant and I foresee at least 2 more!
 Here's those spring onions I harvested. The outside ones are as thick as my thumb!
 Peas! Yay!!
 More on the other side. All 8 plants are starting to produce peas:)
 Here's the next crop of chard coming along nicely.
 And here's a job for tomorrow - weed out this end of the bed and provide a bit more climbing material for these snow peas and broad beans.

And here's the whole bed. Looks so much better weeded and tidied up. Onwards to tomorrow!